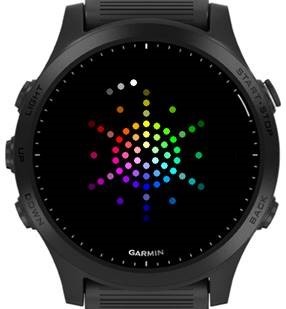
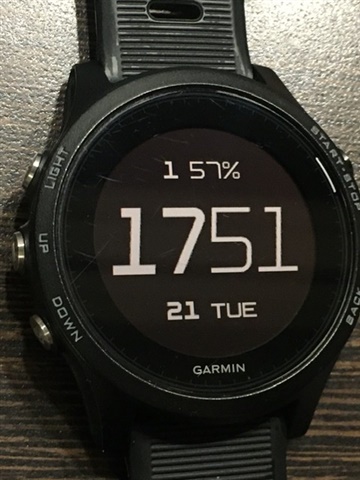
This is the support thread for the M2 watchface:
- App store link to M2: https://apps.garmin.com/en-US/apps/1b4e3210-8105-487b-9f3a-8d538e6fed55
- Link to M2 Designer: https://apps.garmin.com/en-US/apps/206c2756-5eee-47f2-a654-f32375dcbe02
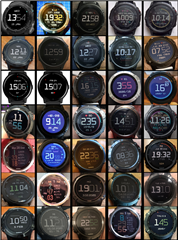
JimAEgirson has created a Facebook group for designs here: https://www.facebook.com/groups/423319952037948
And this PDF files contains a quick visual index to the designs posted in this thread: >>> ForumProfiles1.pdf <<<
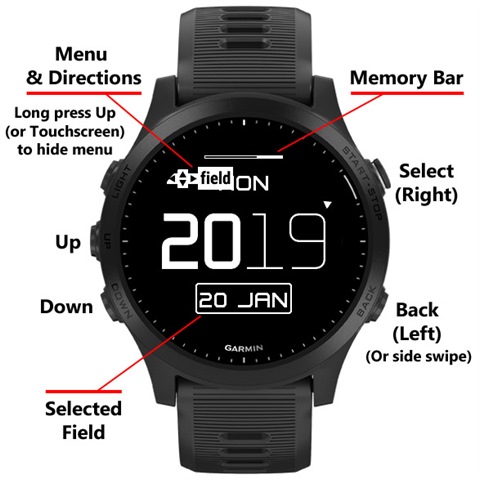
To create your own design or modify one, install & use the M2 Designer app on your watch. These are the steps you would go through:
- Optionally paste a text code into the "Profile Text" setting of M2 Designer & save the settings, or load one of your previously saved designs (either via the settings or the in-app menu).
- Run the M2 Designer app (found underneath your activities list) and create your design.
- Once you've finished, open the Garmin settings for M2 Designer.
- The text code in "Profile Text" will now represent whatever your design looks like, so copy the text code from "Profile Text" - and be careful to select the whole text.
- Close the settings for M2 Designer.
- Open the Garmin settings for M2 (watchface) instead.
- Delete any text that was already in "Profile Text" - this step helps to avoid potential problems
- Paste the text code into "Profile Text".
- Save the settings.
- Now when you view the M2 watchface it will show your changes.
A guide for accessing the Garmin settings is here: https://forums.garmin.com/developer/connect-iq/w/wiki/14/changing-your-app-settings-in-garmin-express-gcm-ciq-mobile-store.

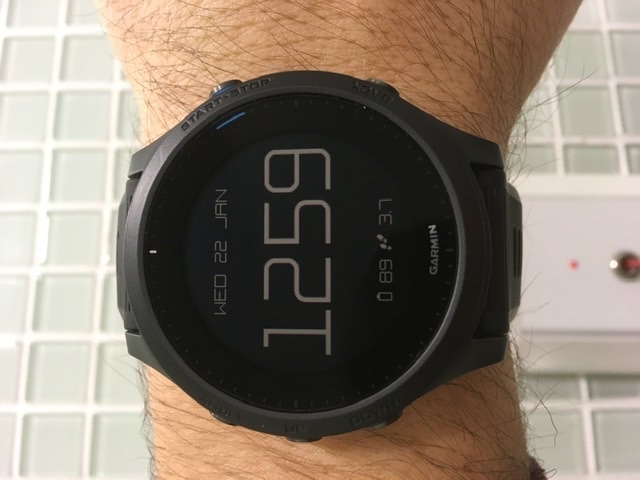
Profile text for the default display = 01Ys2525111WDPO1011WwWO020Vc121VZ11WwXw03X7C11WwVd035C13NC13XDC19010000
------------------
Notes on 12-hour and 24-hour display options - see 4 posts down (with Oldest first) ...
See the latest posts by clicking newest (if it is visible just below) or using the page navigation (if visible at the very bottom).